High Protein Cheesecake – Creamy, Easy & Delicious Recipe
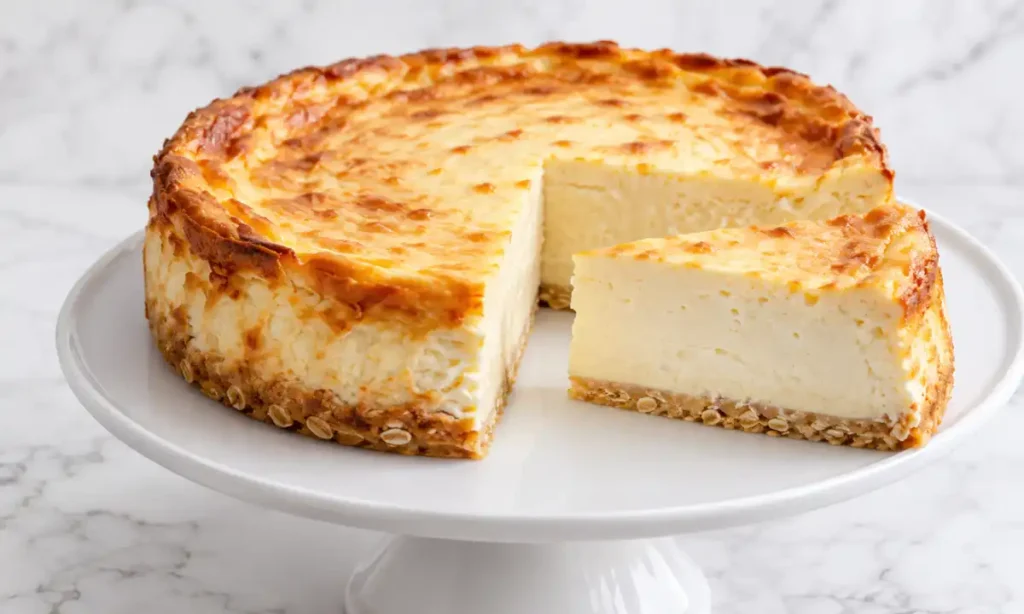
This high protein cheesecake is the perfect combination of a creamy, velvety texture, delicate vanilla flavor, and a satisfying protein boost. Made with thick skyr yogurt, eggs, and vanilla whey protein powder, it delivers the rich taste of traditional baked cheesecake while providing an impressive amount of protein in every slice.
Unlike classic cheesecakes that rely heavily on cream cheese, this version uses naturally protein-rich skyr as its main ingredient. The result is a lighter dessert with a smooth, delicate filling and a subtle hint of fresh lemon zest. A simple oat and butter crust provides a delicious contrast to the creamy cheesecake layer.
This high protein cheesecake is ideal for anyone looking for a satisfying homemade dessert that fits into a protein-focused diet. It requires just a handful of ingredients and a little patience while baking and chilling. Serve it as an afternoon treat, a post-workout dessert, or a delicious addition to your weekly meal preparation.
High protein cheesecake recipe
Ingredients
For the crust:
- 80 g rolled oats
- 20 g unsalted butter, melted
For the cheesecake filling:
- 750 g plain skyr yogurt (0% fat)
- 4 large eggs
- 60 g vanilla whey protein powder
- 80 g honey
- 30 g cornstarch
- 5 g vanilla extract
- Finely grated zest of 1 lemon
- A pinch of salt
Additional equipment:
- 20 cm round springform cake pan
- Baking parchment
- Aluminium foil
- Large roasting pan for the water bath
High protein cheesecake preparation
Instructions
- Preheat the oven to 150°C. Line the bottom of a 20 cm springform cake pan with baking parchment.
- Place the rolled oats in a food processor and blend until they resemble coarse flour.
- Transfer the ground oats to a bowl, add the melted butter, and mix until evenly combined.
- Press the oat mixture firmly into the bottom of the prepared springform pan, creating a compact and even crust.
- Bake the crust for 8 minutes, then remove it from the oven and set aside.
- In a large mixing bowl, combine the skyr yogurt, eggs, vanilla whey protein powder, honey, cornstarch, vanilla extract, lemon zest, and salt.
- Whisk the ingredients together until the cheesecake filling becomes completely smooth. Avoid excessive whisking, as incorporating too much air can cause cracks during baking.
- Wrap the outside of the springform pan with two layers of aluminium foil to prevent water from entering.
- Place the wrapped pan inside a larger roasting pan. Pour the prepared cheesecake filling over the baked oat crust and smooth the surface.
- Pour hot water into the roasting pan until it reaches approximately 2 cm up the sides of the springform pan.
- Transfer everything carefully to the oven and bake at 150°C for 50–55 minutes. The edges should be set, while the center should still wobble slightly when gently moved.
- Turn off the oven, leave the door slightly open, and allow the cheesecake to cool inside for approximately 1 hour.
- Remove the cheesecake from the water bath and transfer it to the refrigerator, keeping it in the springform pan.
- Refrigerate for at least 4 hours, preferably overnight, until completely chilled and firm.
- Carefully remove the cheesecake from the pan and cut it into 8 equal slices.
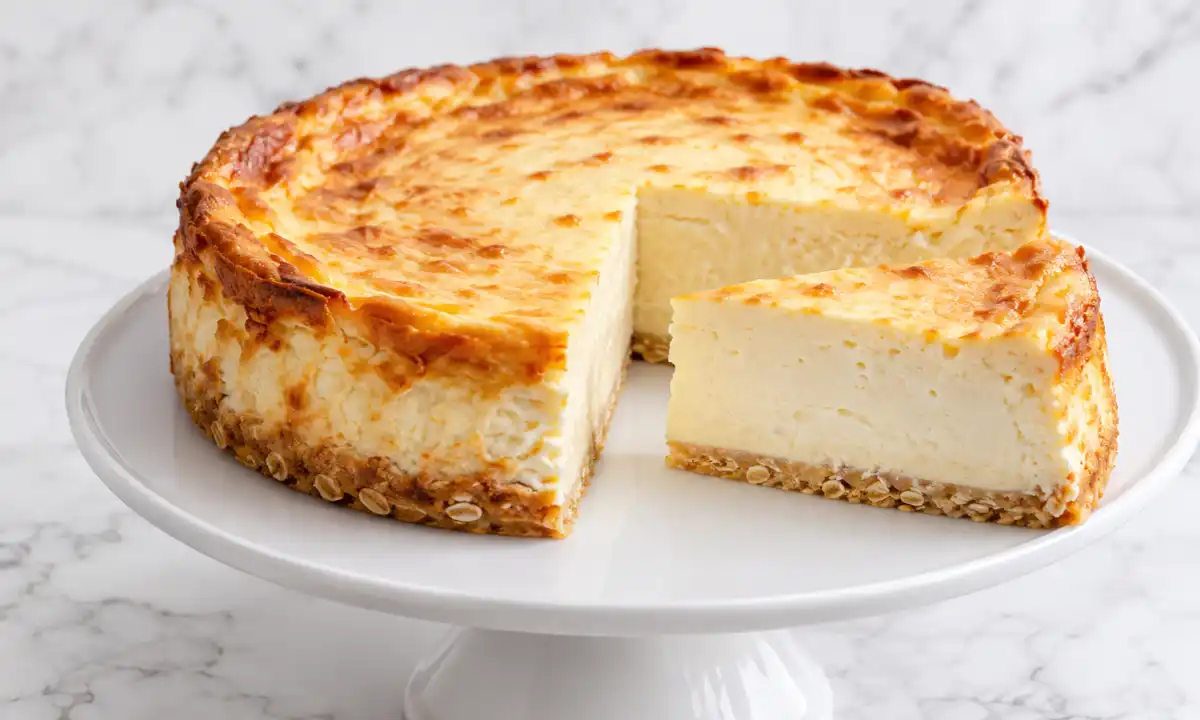
The finished high protein cheesecake has a silky, creamy interior, a delicate vanilla aroma, and a pleasantly tangy flavor from the skyr yogurt. The oat crust adds a subtle nutty note without overpowering the filling.
For the cleanest slices, use a sharp knife and wipe the blade between cuts. Keep any leftover cheesecake covered in the refrigerator for up to 4 days. It can also be frozen in individually wrapped portions for up to 1 month.
With approximately 21 g of protein per serving, this baked cheesecake is a delicious way to enjoy a classic dessert with an added nutritional benefit.
-
High Protein Cheesecake
High Protein Cheesecake – Creamy, Easy & Delicious Recipe
-
Chocolate Beetroot Cake
Chocolate Beetroot Cake – Rich, Moist and Easy Recipe
-
Healthy Ginger Cookies
Healthy Ginger Cookies – Easy, Soft & Chewy Recipe
Leave a Reply